Showing posts with label DIY. Show all posts

Wednesday, March 20, 2013

ROCKin'


How to hollow out and drill holes into rocks. Yes Please!!!  I just happened upon this how-to following a pinterest picture to its source.  I am excited to give this a try.


I have yet to try for myself. I have copied and pasted these helpful pointers from the blog 

Materials Needed:
High speed rotary tool a large drill press or a dremel tool works well.
Pointed masonry drill bit or a hollow, diamond-tipped coring bit. For drilling holes in smaller stones used in jewelry, a 2.5mm diameter bit is a good size.
Plastic container to hold water so you can drill your stone under water. Drilling underwater cools off the bit and which will speed up your drilling and keep your stone from over heating.
Adjustable wrench to hold your rock in place while drilling.
Goggles
Small sedimentary rocks (sandstone, limestone, etc when scouring the beach for rocks, these tend to be well rounded)


1. Put on your goggles.
2. Using your wrench, firmly hold a rock inside your container, just beneath the water. Hold them steady.
3. Turn on the rotary tool and hold it perpendicular to the rock. Press firmly but gently. Do NOT rotate the hand holding the rock or else the rock will crack. The water will become cloudy, but that's fine. Continue to push firmly until the bit pokes through the other side.


Materials Needed:
High speed rotary tool  a large drill press or a dremel tool
A small (2mm diameter) and large (10mm) hollow,diamond-tipped coring bit.
Plastic container to hold water so you can drill your stone under water. Drilling underwater cools off the bit and which will speed up your drilling and keep your stone from over heating.
Adjustable wrench to hold your rock in place while drilling.
Goggles
Small sedimentary rocks (sandstone, limestone, etc when scouring the beach for rocks, these tend to be well rounded)


Monday, October 8, 2012

a different kind of pumpkin


With Harvest, Halloween & Holidays just around the corner it's that time to break out the decorations and your DIY skill for decorating.  I found a few ideas for a different kind of pumpkin on pinterest. My favorite is the stuffed cloth ones but I think the easiest & most fun for the kids would be the melted crayon ones.  I think it's important to involve the kiddos in decorating for the season. To me it's what this season is all about, bringing together family in celebration.

1. // 2. // 3. // 4.

What are some of your favorite go-to ideas for being crafty with the kids in celebration? If you are on the hunt for some new inspiration pinterest is a great place to start searchin'.

Wednesday, July 4, 2012

a summer treat


Mama J's garden fresh homemade pesto.  Add all the ingredients the recipe (pictured above) calls for into the blender and puree.  Add sea salt and cayenne to taste, a half a teaspoon of each (eyed not actually measured) worked perfect for me this time. I added my fresh made pesto to some pasta and topped with herbed goat cheese...YUM!  You can eat your pesto with crackers, fresh bread, use it as a sauce for homemade pizza or a salad dressing. The options are nearly boundless and it's so rewarding to create a delicious meal using bits from your own garden.

note // the original recipe called for pine nuts & pepper but being a belle of the south I used pecans & cayenne

>>> make it your own + ENJOY <<<

Monday, June 18, 2012

that old T


I copy and pasted these from an email I recieved. What a simple idea and so great. Don't ya think?

Monday, April 30, 2012

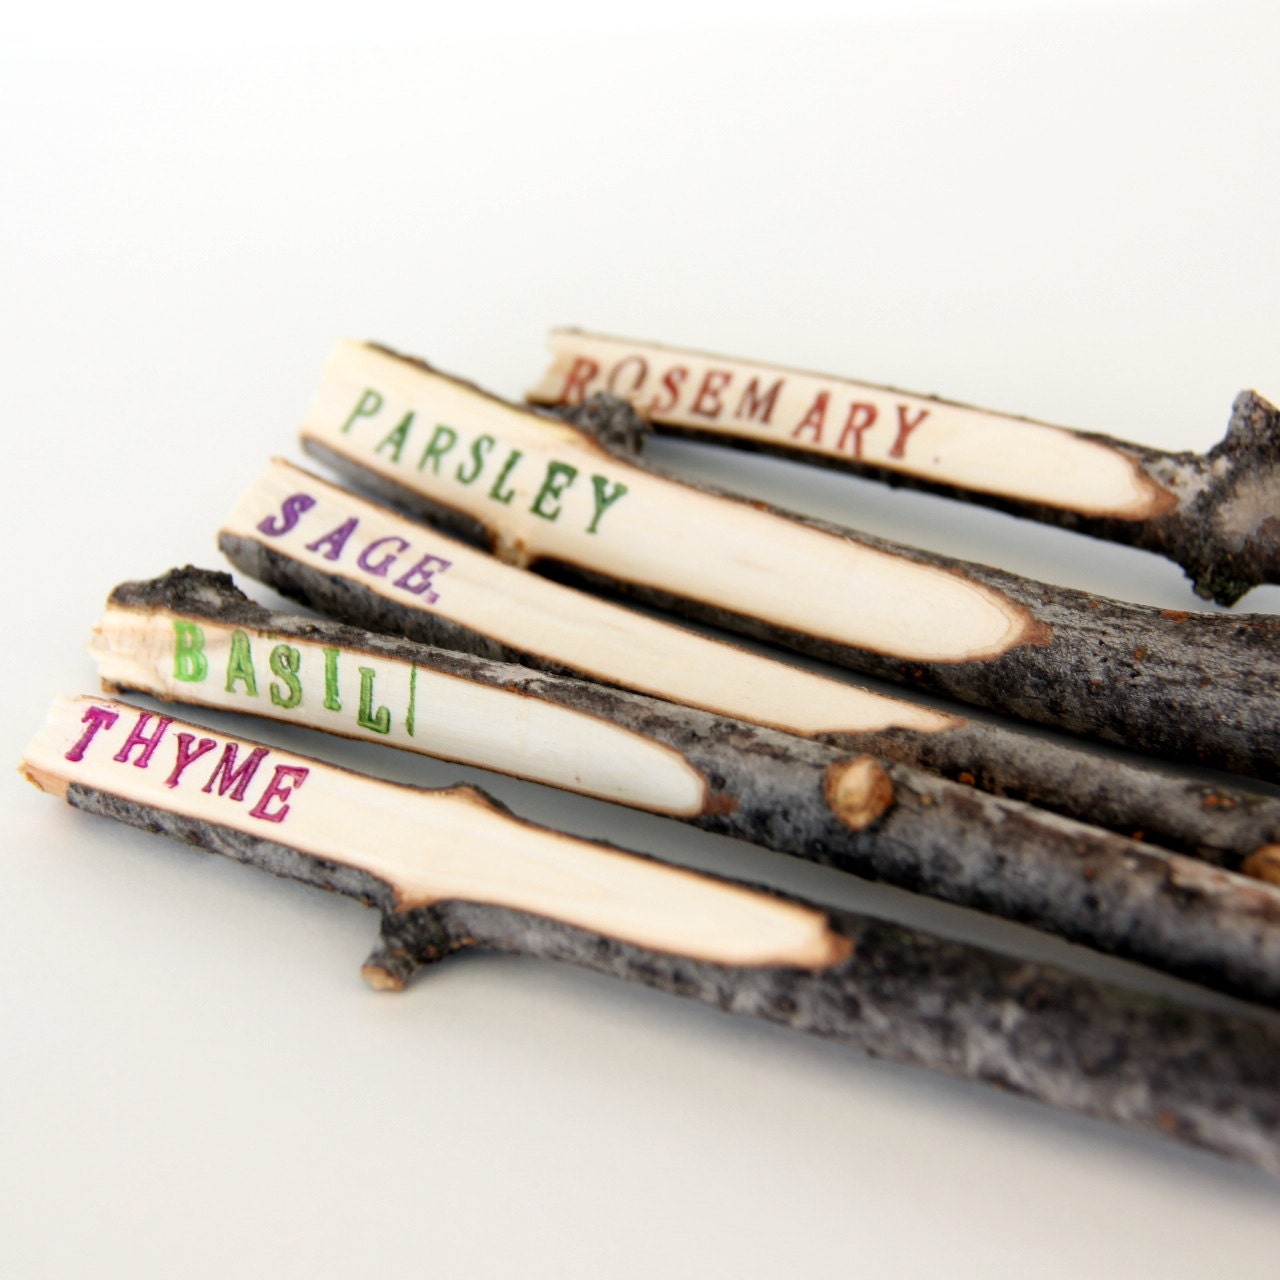
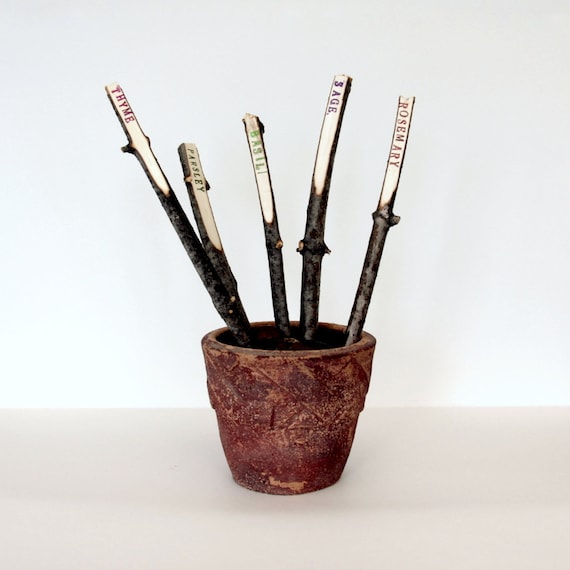
a twig with a purpose


I love this idea for plant markers.  Making the best out of what is readily available is something I'm always quite fond of. You can find them here or make you own variety.

Friday, April 13, 2012

catching spring


This post has caught the color and feeling of Spring for sure.  Such beautiful handmade dreamcatchers. I am dreamin' of making more myself again soon. I think it was my lil' girls 3rd birthday (she's now 7) when I last made one but there were not this pretty. These are like right out of Free People and who does not love just about everything they see in FP at least how they style it is always crazy inspiring.

Wednesday, March 28, 2012

Tuesday, October 25, 2011

huh...good idea

very simple but I never actually considered it till now...

here is a simple d.i.y. thanks Jill
one I might actually do today or even better on Friday with the girls
we are having a slumber party to celebrate my lil' Kaya's completion of her first 7 year cycle
and her first slumber party
I would think they might enjoy this... I will
I like how it's a clip and a magnet :)

"somewhere there's a feather falling slowly from the sky you need not know the reason why..."-nico
 quote taken from this lookbook

Thursday, October 13, 2011

homemade mod podge

a jar
 50% elmers glue to 50% water
shake well and voila!


courtesy of the do it yourself divas

funny how I never really thought of how easy it would be to make...duh
but I wonder if it dries as clear?

old wood...i'm in


read this tutorial on how to transfer ink onto old wood to make these 
rustic wood signs with words
 I will be trying this sooner than later

select a font that fits your style and flip it before you print
 so it transfers correctly

Turn your piece of paper over so that the ink is face down on your wood, position it so that it's centered, you might crease the bottom of my paper along the edge of the wood so it doesn't move around, and begin brushing the paper with your wet paintbrush.

You don't want to make your paper sopping wet or the ink will just run and the paper will disintegrate. Just wet it enough so that it seeps through to the other side and starts to release the ink from the paper.

Take your Sharpie lid and begin to burnish your letters going horizontally and vertically. You want to transfer as much of the ink from the paper to the wood as you can. Don't peek, though. You don't want to accidentally shift your paper. Just scribble over each letter being sure you've burnished over every bit of each one.

if you would like your letters a bit darker use a small paint brush and very diluted paint
Related Posts Plugin for WordPress, Blogger...